Tutorial creado para Todoboda.
This tutorial was created for Todoboda.
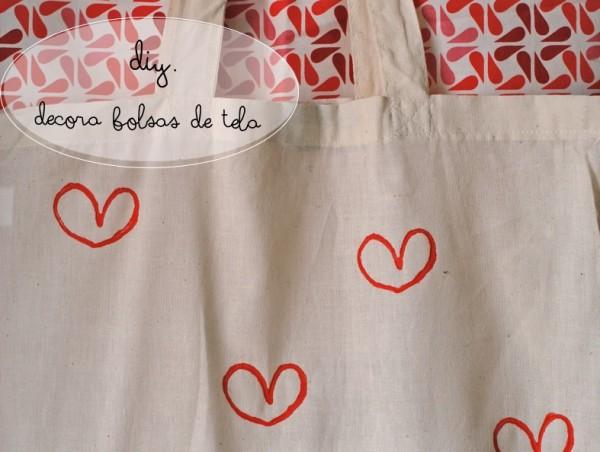
Hoy os proponemos decorar bolsas de algodón con las que puedes crear un pack para la despedida de soltera de tu mejor amiga, un detalle para las niñas de arras o un regalo handmade para esta navidad. Hemos creado este tutorial a partir de otro que encontramos en Pinterest en el perfil de Amanda de Casa para hacer manualidades con niños.
Today we are posting how to decorate cotton bags which can be used as a present on your best friend’s bachelorette party, a little detail for the ring bearer girls or a Christmas handmade present. We have made this tutorial from another one we found in Amanda de casa‘s Pinterest , which is specialized in crafts with children.
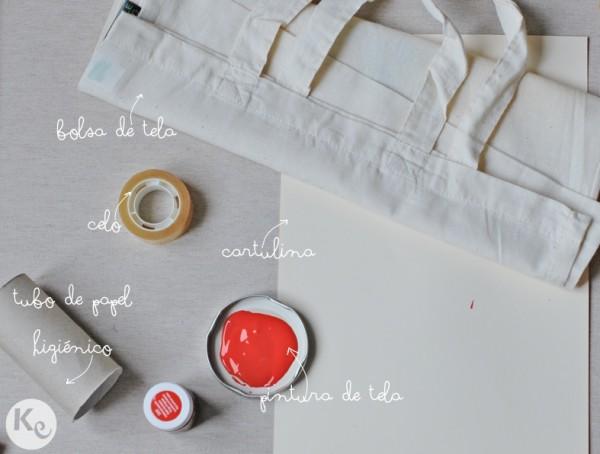 Los materiales que vamos a utilizar son los siguientes:
- · Un tubo de cartón de papel higiénico.
- · Una bolsa de tela.
- · Pintura de tela.
- · Cartón o cartulina.
These are the elements we will be using:
- · A toilet paper cardboard tube.
- · A fabric bag.
- · Fabric paint.
- · A piece of card.
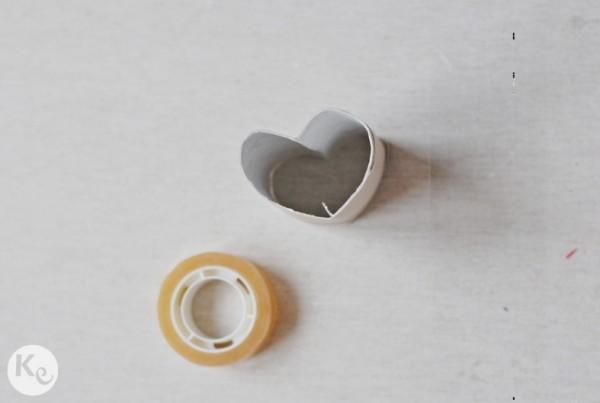 1. Dale forma de corazón al tubo y rodéalo con celo para que la forma quede fija.
1. Make a heart with the cardboard tube as shown in the image and use Scotch tape to avoid losing shape.
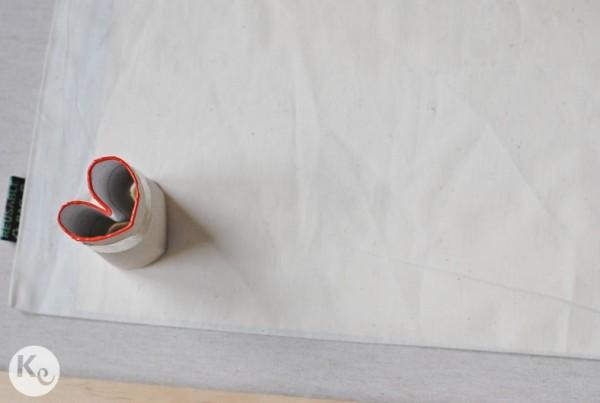 2. Prepara la bolsa, metiendo una cartulina o un cartón dentro para evitar que la pintura traspase la tela y manche el otro lado de la bolsa.
2. Prepare the bag by putting inside a piece of card. That will avoid soaking and staining the other side of the bag.
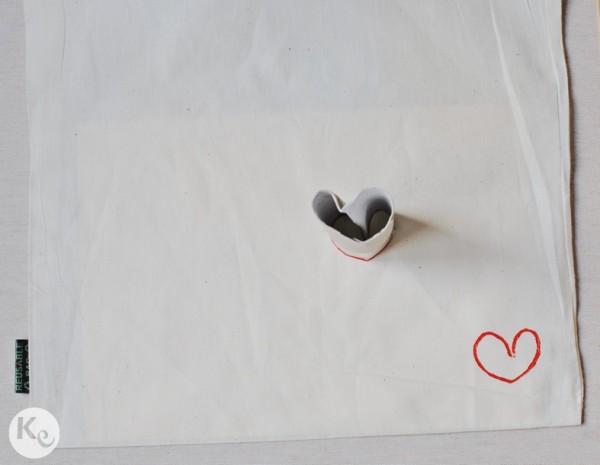 3. Empapa el corazón que has hecho con el tubo en pintura.
3. Soak the heart in paint.
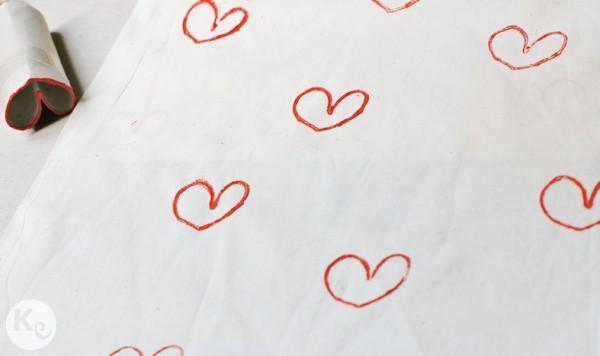 4. Utilizalo como un sello para llenar la bolsa de corazones.
4. Stamp it on the bag to fill it with hearts.
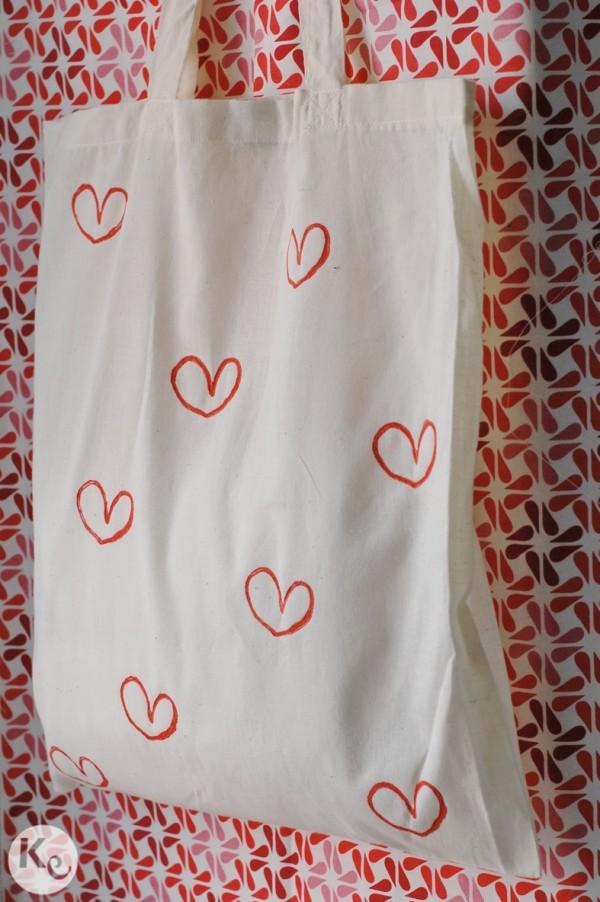
Imágenes/Images: A Kiss of Colour
Ya tienes tu divertida bolsa original y colorida. Sigue las instrucciones del fabricante para fijar correctamente la pintura a la tela (planchándo la prenda del revés, normalmente).
And now, you’ve got your fun, original bag ready.

