DIY #59. Un trocito de Navidad/A little piece of Christmas
Por Akissofcolour
@akissofcolour
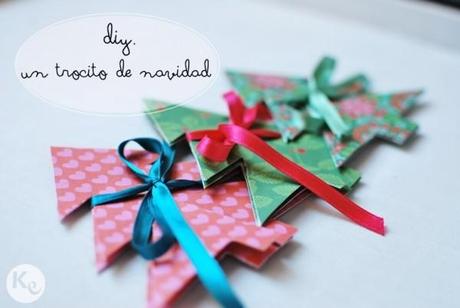
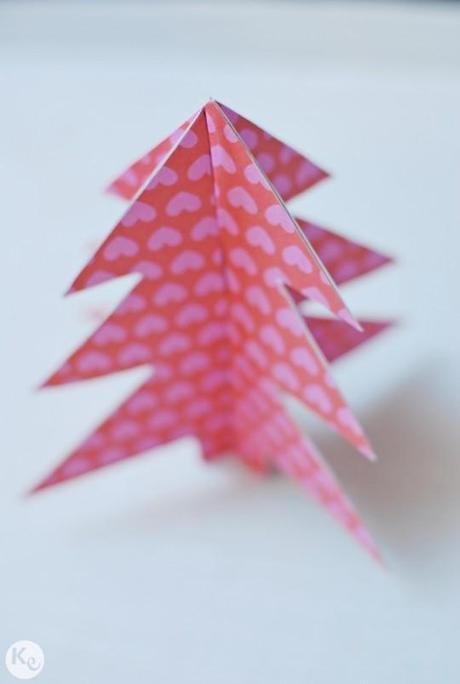
Nosotros llevamos la Navidad dentro. Nos encanta tener cualquier excusa para celebrar y decorar, así que intentamos impregnar al resto del mundo de ese espíritu. Pensando en cómo sacar una sonrisa y felicitar la Navidad, se nos ocurrió crear un mini-árbol navideño para llevar un pedacito de Navidad a cualquier rincón. Un detalle que el destinatario puede poner al lado de su ordenador y que seguro que le da un subidón navideño cada vez que lo vea.
We love Christmas. We are keen on celebrating and decorating and we try to pass on this feeling to the rest of the world. We were thinking about how to make someone smile and wish a merry Christmas, when we decided to make a tiny Christmas tree to bring a little piece of Christmas everywhere. A nice detail the addressee can place beside his/her computer which will help providing a Christmas buzz every time he/she sees it.
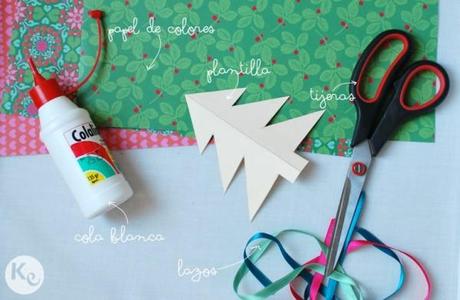
Para crear estos abetos hemos utilizado los siguientes materiales:
- · Cartulina o cartón
- · Papel de colores
- · Tijeras
- · Cola blanca
- · Lazo
These are the elements we have used to make these fir trees:
- · Card or cardboard
- · Coloured paper
- · A pair of scissors
- · Glue
- · Ribbon
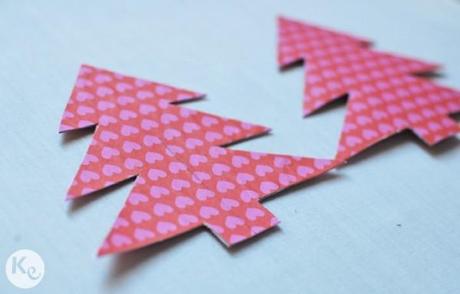
1. Recorta una plantilla con el dibujo del árbol que prefieras. Nosotros hemos hecho un abeto a mano alzada doblando una cuartilla por el lado largo y dibujando una mitad.
1. Cut out a template representing the tree you like the most. We have made a fir tree, folding a sheet of paper by its long side and drawing one half.
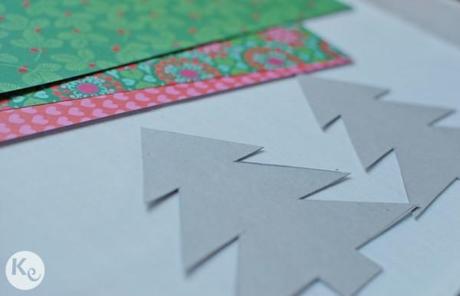
2. Dibuja dos árboles en una cartulina utilizando la plantilla que has creado y recortalos.
2. Draw a couple of trees on a cardboard using the template you have just created and cut them out.
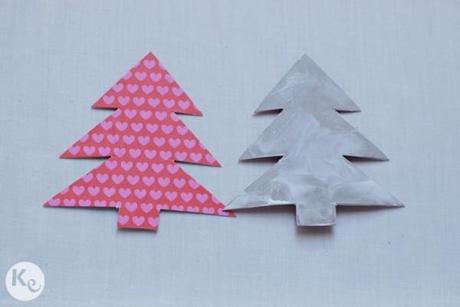
3. Encola una de las caras y pégala sobre el papel de colores que hayas elegido.
3. Spread some glue on one side and stick it on the coloured paper of your choice.
4. Recorta el árbol.
4. Cut out the tree.
5. Encola la otra cara y vuelve a recortar el árbol.
5. Spread glue on the other side and cut out the tree again.
6. Repite los puntos del 3 al 5 con el otro árbol.
6. Repeat steps 3 to 5 with the other tree.
7. Corta desde la copa del árbol hasta el centro por la mitad del árbol.
7.
Cut from tree’s top to the center.
8. Corta desde el tronco hasta el centro por la mitad del árbol.
8. Cut from the tree’s base to the center.
Imágenes/
Images:
A Kiss of Colour
Para terminar puedes unir las dos mitades con un lazo y añadir un texto explicando cómo montar el árbol, felicita la navidad o explica porque le quieres regalar un trocito a esa persona.
To end it up, you can join the two halves with a ribbon and include a text describing how to assemble the tree, wishing a merry Christmas or explaining why you want to give away a piece of Christmas.
Puedes encontrar más inspiración en:
Inspiración #2. La fiesta del siglo en blanco y negro/Black and White PartyDIY #32. Portavelas con tarros y washi tape/ Candles made from mason jars and washi tape6 Ideas para una sesión preboda navideña/6 tips for a Christmas engagement session
