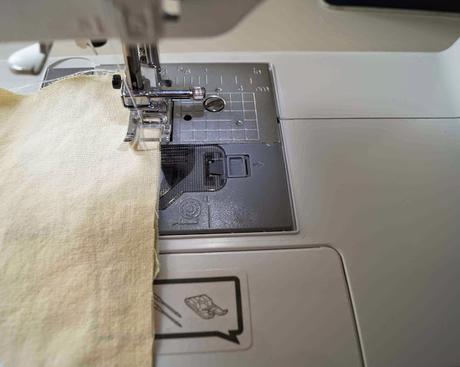
Paralelamente a saber cómo coser las piezas de un quilt, tenemos que ver cómo montarlas.
At the same time we learn how to sew the pieces of a quilt, we have to see how to assemble them.
Montaje a mano / Hand piecing
Los pasos fundamentales son:
- Marcar las líneas de costura en el revés de las telas para que nos sirvan como guía.
- Colocar siempre las piezas derecho con derecho.
- En piezas con lados al bies (triángulos, rombos, hexágonos,...) o en curva la tela puede dar de sí, así que se debe reforzar la costura, con puntadas más pequeñas y rematando el principio y el final de la misma.
- Mark all seamlines on the reverse side of the fabric so they serve as a guide.
- Place always the pieces matching right sides.
- When sewing seams on bias-cut edges (on triangle, diamond, hexagone shapes,...) or around curves, the raw edge is prone to stretching, so secure the seam with small stitches and use a double backstitch at the start and the end of the seam.
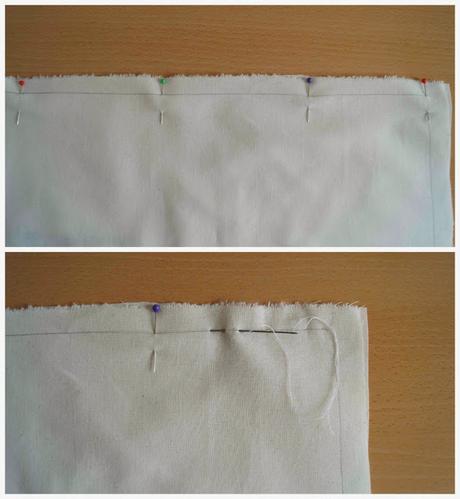
Costuras rectas: colocar las piezas de tela derecho con derecho y unirlas por la línea de costura con alfileres, que iremos quitando a medida que cosemos, revisando la tela de atrás para asegurarnos de que las puntadas están sobre la línea de costura en ambas piezas.
Straight seams: place the pieces matching right sides and insert pins on the marked seamline making sure that the line aligns on both sides. Remove the pins as you work.
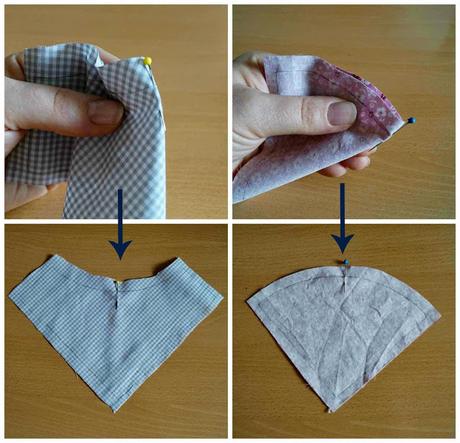
Costuras curvas: marcamos en la línea de costura el centro de la curva y, colocando las telas derecho con derecho, las juntamos haciendo coincidir los márgenes de costura. Ponemos alfileres a lo largo de la curva, comenzando por el centro, después en los extremos y finalmente en el resto de la línea de costura repartiendo bien la tela. Quitamos los alfileres a medida que cosemos, con puntadas pequeñas y revisando la tela de atrás para asegurarnos de que las puntadas están sobre la línea de costura en ambas piezas. Planchamos la costura hacia la pieza convexa.
Curved seams: mark the center point of the seamline and join the seam allowances matching the right sides.Insert pins along the seamline, distributing the fabric evenly. Remove the pins as you sew, with small stitches and making sure that the line aligns on both sides. Iron the seam towards the convex piece.
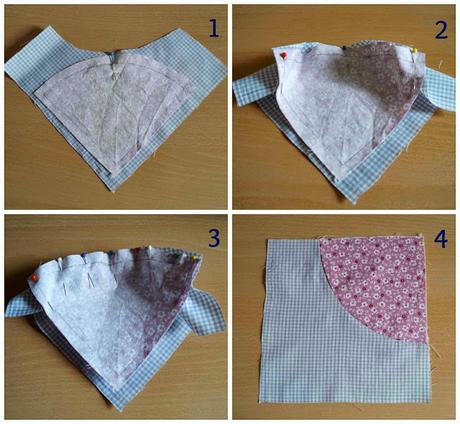
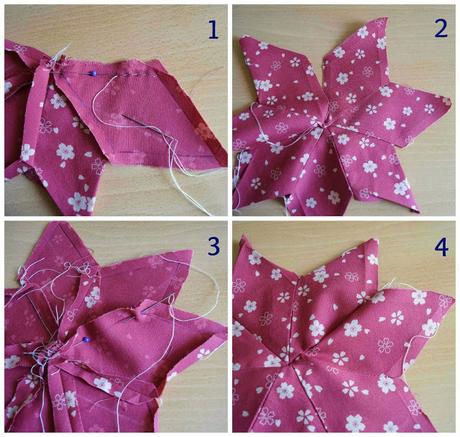
Coser ángulos: si tenemos que encajar una pieza en otras dos que forman un ángulo, tenemos que comenzar casando una de sus esquinas con el punto interior de una de las piezas ya cosidas. Unimos con alfileres por la línea de costura y cosemos desde el punto exterior al interior, rematando al final fuera de la línea de costura. A continuación, cosemos a la otra pieza de la misma forma.
Sewing angles: to set a piece into an angle, match one corner to the inner point of an already sewed piece. Add pins along the seamline and sew from the outer point to the inner. Take a few small bachstitches into the seam at the inner corner, avoiding the seam allowance. Then sew into the other piece in the same way.
Montaje a máquina / Machine piecing
Es mucho más rápido y no requiere marcar las líneas de costura. Colocamos las telas derecho con derecho, dejamos un margen de 5 mm. y utilizamos un pespunte de longitud media.
It is a quicker way to assemble a piece. Place the fabrics matching the right sides, take a 0.25’’ seam allowance and use a standard straight stitch.
