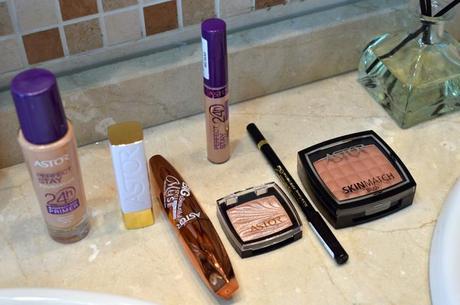
 Buenos días chicos! Hoy os traigo un post muy especial con mi primer tutorial de maquillaje de la mano de Astor. Siem-pre quise enseñaros mi maquillaje del día a día y aprovechando estas fiestas, os enseño el de mi look de Navidad. Os lo dejo todo paso a paso. Espero que os guste y en el siguiente post os enseñaré el look al completo!
Good morning! Today I bring you a very special post with my first makeup tutorial to the Astor hand. I always wanted to teach to you my diary makeup. I show you everything step by step. Hope you like it! In the next post I will show you the full look!
1er Paso: Siempre empiezo por la base de maquillaje, Perfect Stay 24h Foundation + Premier de Astor. Llevo el color beige (tono 300) y tengo que decir que me encanta! Dura muchísimo y te deja la piel aterciopelada y sin brillos. Empiezo sobre la "zona T", comenzando por el centro de la frente, nariz y barbilla y extiendo el producto hacia el exterior del rosto. Siempre teniendo especial cuidado en las orejas y en el cuello para evitar el efecto máscara.1st. Step: I always start by makeup, Perfect Stay + 24h Premier Astor Foundation. I use Beige (pitch 300) and I must say I love it! I start on the "T-zone" beginning at the center of the forehead, nose and chin and I extend the product to the outside of the face. Always taking special care in the ears and neck to prevent mask effect.
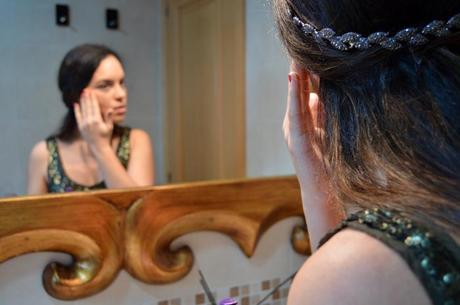
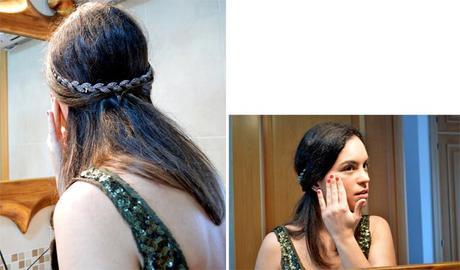 2do. Paso: Después de la base de maquillaje, aplico el corrector de ojeras, Perfect Stay Concealer. Desde que lo descubrí hace unos meses no puedo prescindir de él ni un día! Lo aplico desde el lagrimal hacia el exterior en toda la cuenca del ojo, tanto en la ojera como en el párpado móvil.2nd. Step: After the foundation, I apply concealer, Perfect Stay Concealer. I apply it from the tear outwards across the eye socket and the eyelid.
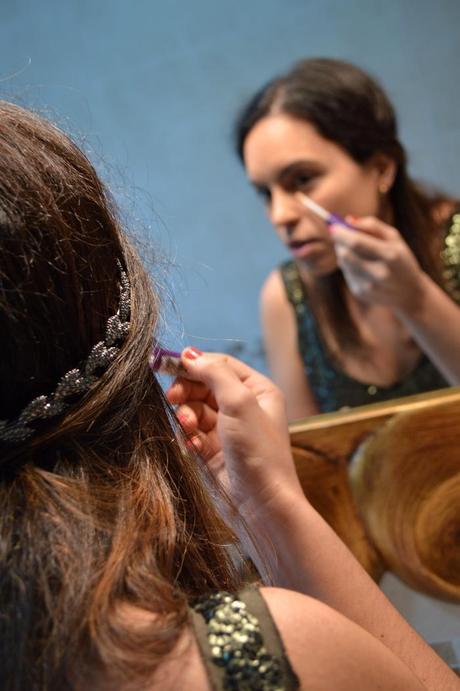
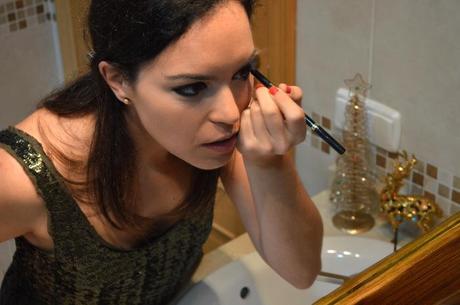
 3er Paso: Después de aplicarme el corrector, paso a pintarme los ojos con el lápiz negro Eye Artist Kajal Waterproof and Long Lasting. Dura muchísimo y es un fácil de usar. Esta vez decidí delinearme arriba y abajo, pero abajo sólo tres cuartos. Me encanta el ojo tan bonito que se consigue de esta manera.
3rd. Step: After applying concealer, step by painting my eyes with black pencil Kajal Eye Artist Waterproof and Long Lasting. It is very easy to use.
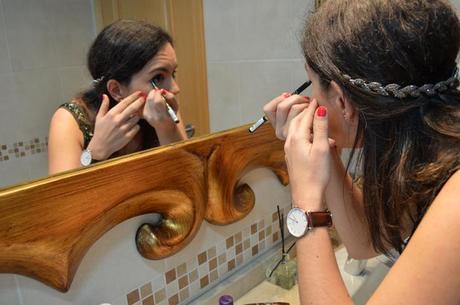 4º Paso: Los que seguís mi blog a menudo, sabéis que no soy de recargarme mucho los ojos ni de ponerme muchas som-bras. Pero esta vez, al tratarse de un look más especial, elegí una sombra en color Capuchino, con un toque de dorado precioso y muy sútil!
4th. Step: All of you know that I am not to recharge my eyes or put many shades. But this time is a special look, I chose a shade in Cappuccino color. I apply it with a brush for shadows.
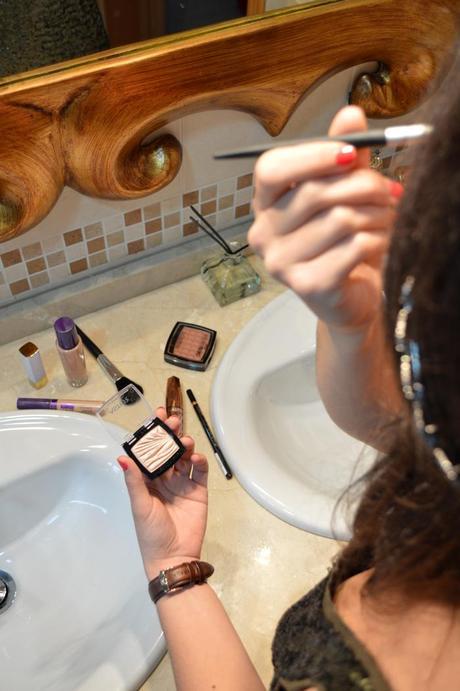
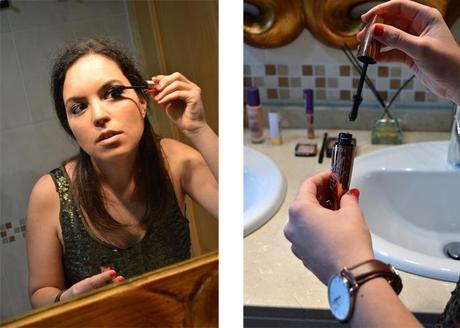
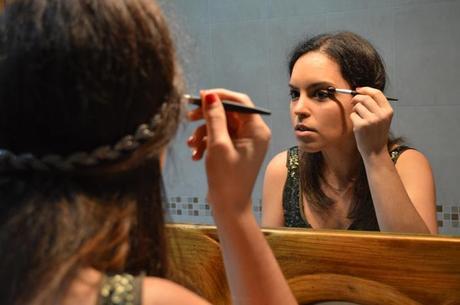 5º Paso: Para acabar con los ojos, aplico la máscara de pestañas, Big & Beautiful Style Muse, dando mayor importancia al extremo exterior del ojo para marcar la mirada. Es la máscara que uso a diario y tengo que decir que después de probar otras muchas es mi favorita.
5th. Step: To finish off the eyes, I apply mascara, Big & Beautiful Style Muse, giving more importance to the outside corner of the eye to mark the look. It is the mask every day and I have to say that after trying many others this is my favorite!
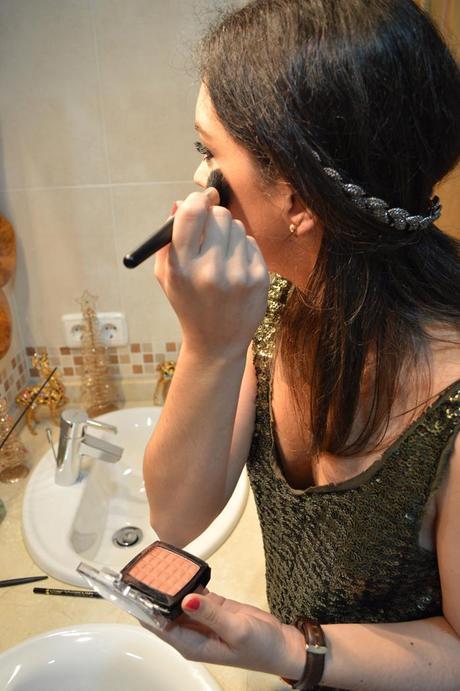
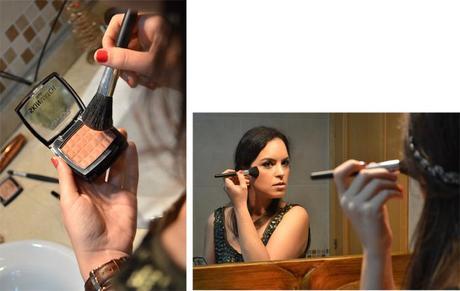
 6º Paso: Sin el producto que no puedo salir de casa es el colorete, SkinMatch Mono. Lo aplico sobre los pómulos, comen-zando desde la zona bajo el ojo y hasta la sien en sentido ascendente. Es el tono perfecto para un rostro con un toque de luminosidad.
6th Step: The product that became something so important to use it everyday before go out is the SkinMatch Mono. It's the perfect tone for a face with a touch of brightness.
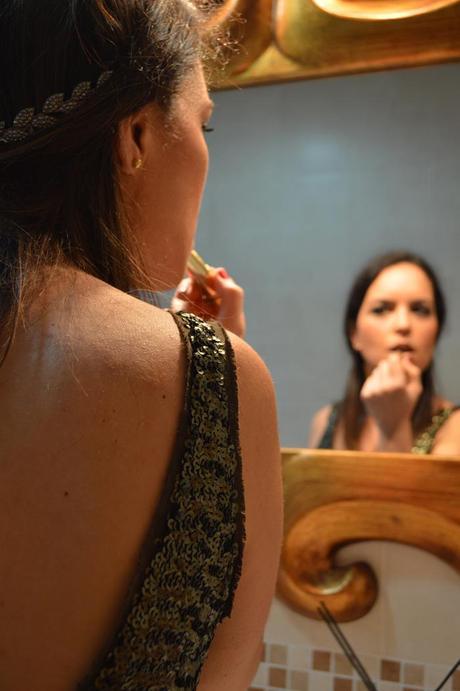
 7º Paso: Para acabar, los labios con la barra SoftSensation nº702 Sweet Tofee. A veces, para asegurarme que la barra se mantenga fija, delineo los labios con un lápiz, pero esta vez lo hice con la barra directamente.
7th Step: To finish, lips: SoftSensation nº702 Sweet Tofee. Sometimes, to make sure the lipstick stays fixed, I outline the lips with a pencil, but this time I did it directly.

Y aquí os dejo el resultado final, espero que os haya gustado como quedó!Here I leave the final result. Hope you like!
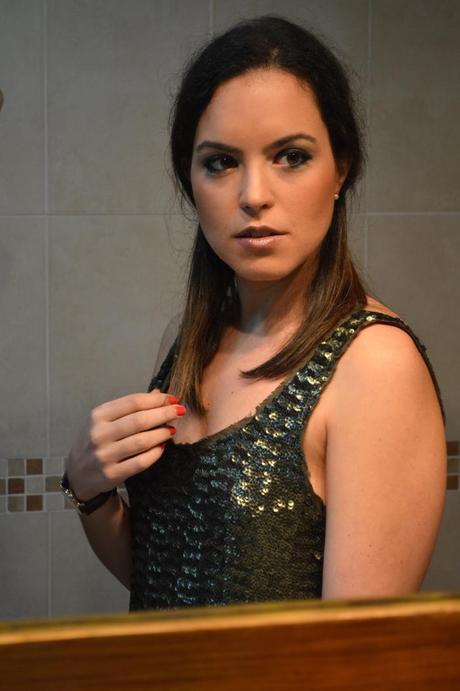
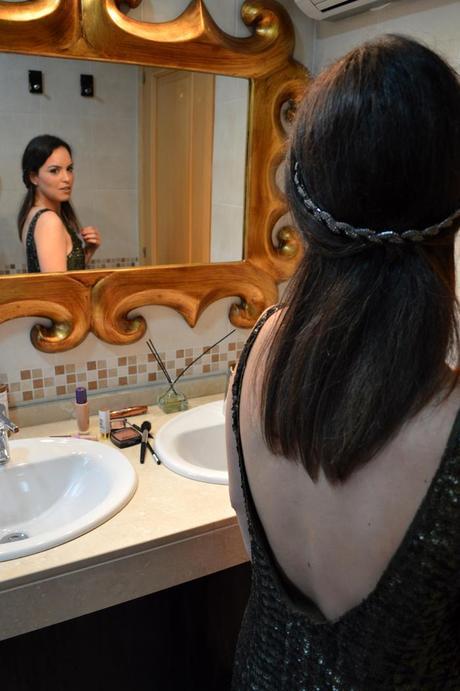 Photos: Fran Comas y Pablo Gómez
all credits:Todos los productos aquí: www.astorvivetubelleza.esBase de maquillaje/Foundation: Perfect Stay 24h Foundation, de Astor.Corrector/Concealer: Perfect Stay Concealer, de Astor.Lápiz de ojos/Eyeliner:Eye Artist Kajal waterproof and long Lasting, de Astor.Sombra de ojos/Eye shadow: SkinMatch Mono Cappuccino, de Astor.Máscara de pestañas/Mascara: B&B Style Muse, de Astor.Coloretes/Blush:Skin Match, de Astor.Labial/Lipstick: Soft Sensation Color & Care nº 702 Sweet Tofee, de Astor.Vestido/Dress: Pull and Bear (au/w14-15)Corona/Crown: Zara (au/w14-15)
 Podéis seguirme en:InstagramBloglovinTwitterFacebook
