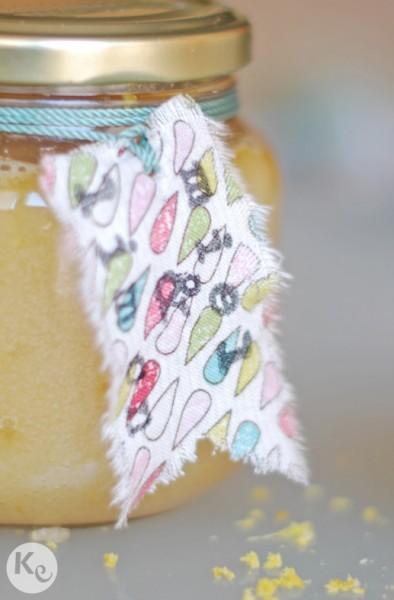
Ayer os enseñaba mi primer exfoliante casero. Lo metí en un tarro que decoré con una etiqueta hecho con retales de tela que estampé con sellos. Hoy os enseño cómo lo hice para que podáis decorar vuestros regalos.
Yesterday I told you how home made scrub. I decided to use a jar as container and decorate and included a tag made from stamped fabirc little pieces. I show you here how I made them, so you can decorate your favors.
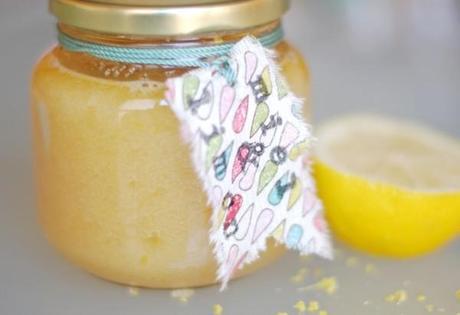
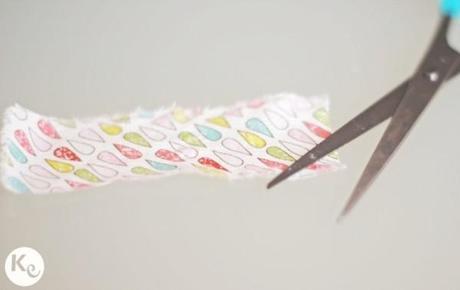
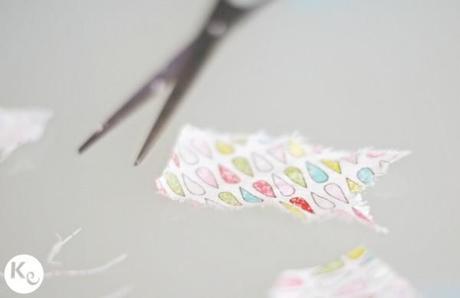
Necesitaréis in retal de tela, unas tijeras, sellos y tinta. Haz un pequeño corte en la tela y rásgala. Repite la operación haciendo un corte con el ancho que quieres que tenga la etiqueta. Corta en pico uno de los extremos y deshiláchalo y haz lo mismo con el extremo que has dejado recto.
You need fabric, stamps and ink. Make a little cut and rip the fabric. Repite it with the other side of the tag. Cut off a triangle and rip the fabric, then rip it at the other end too.
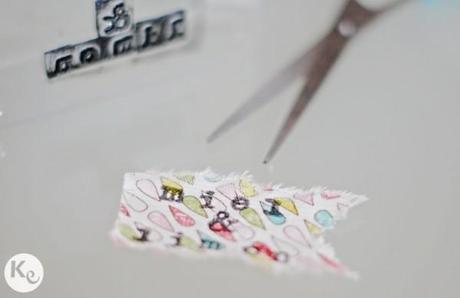
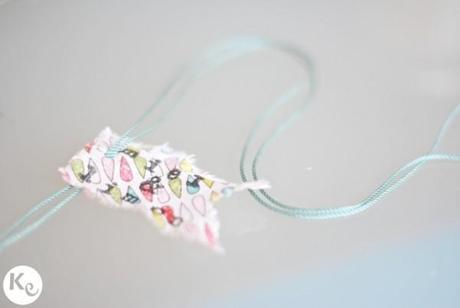
Para hacer el agujero para introducir el lazo o cordón yo utilicé un pincho metálico (concretamente un palo de brocheta) y ya tienes lista tu etiqueta. ¿Qué os ha parecido la idea?
To make the eyelet to put a ribbon I used a metal brochette and you have your tag. What do you think about this idea?
Imágenes/Images: A Kiss of Colour

