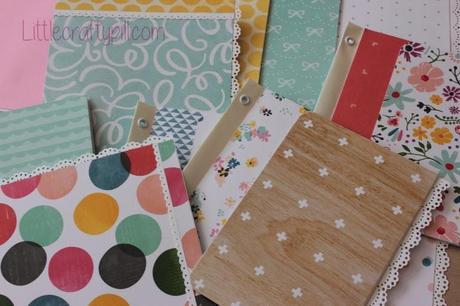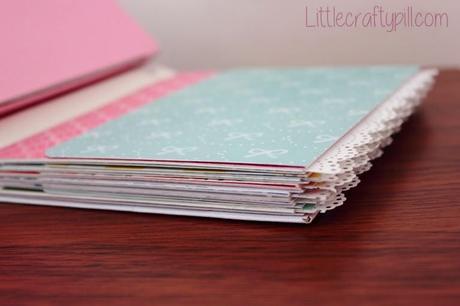
¡Hola! Esta es la segunda parte del tutorial: mini álbum de sobres (¡ya solo quedan dos! ;)) y vamos a ver cómo decorar la estructura interior que creamos en el primer vídeo.
Hello everyone! This is the second part of the Envelopes mini album tutorial (just two more to go!!! ;)) and today I'll show you how to decorate the inner structure we made in the previous video.

Podéis ver el tutorial aquí abajo o en mi canal de Youtube.
You can watch the tutorial below or in my Youtube channel.
¡Espero que os haya gustado! En el próximo tutorial acabaremos el interior del álbum y en el último vídeo decoraremos la portada. ¡Muchos besitos y feliz semana!
Hope you liked it! We'll finish the inside in the next tutorial while the last video will be dedicated to decorating the cover of the album. Have an amazing week and see you soon!
- Papeles decorados de la colección: Day Dreamer de Dear Lizzy
- Cizalla Fiskars.
- Mini plegadora de Martha Stewart.
- Pegamento en rollo y pegamento de silicona APLI
- "Corner Chomper" de We Are Memory Keepers.
- "Crop a Dile" de We Are Memory Keepers.
- Eyelets con arandelas color blanco de We Are Memory Keepers.
MEDIDAS:
- Tarjeta interior sobre: 16 x 15.7 cm.- Cara frontal del sobre: Rectángulo grande - 25.3 x 16 cm. Rectángulo pequeño - 11 x 16 cm.
- Cara trasera del sobre: 14.3 x 16 cm.
- Decoración tarjetas interiores: 14.3 x 15.7 cm.
SUPPLY LIST:
- Doily Lace Edge punch by Martha Stewart.- Patterned paper collection "Day Dreamer" by Dear Lizzy
- Fiskars Paper Trimmer.
- Mini scoring board by Martha Stewart.
- Glue tape and silicon glue by APLI
- "Corner Chomper" by We Are Memory Keepers.
- "Crop a Dile" by We Are Memory Keepers.
- Eyelets white by We Are Memory Keepers.
MEASUREMENTS:
- Cards inside envelopes: 6.3" by 6.1"
- Front part of envelope: Big rectangle- 9.9" by 6.3" Small rectangle- 4.3" by 6.3"
- Back part of envelope: 5.6" by 6.3"
- Paper for the inner cards: 5.6" by 6.1"

