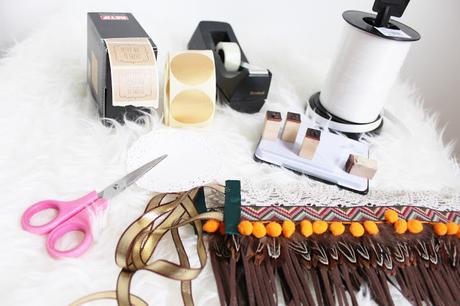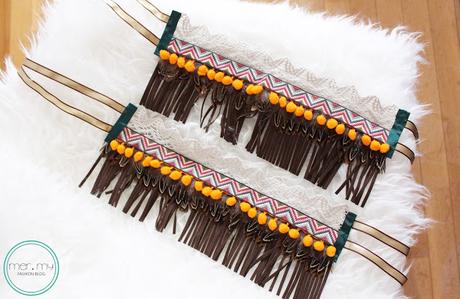
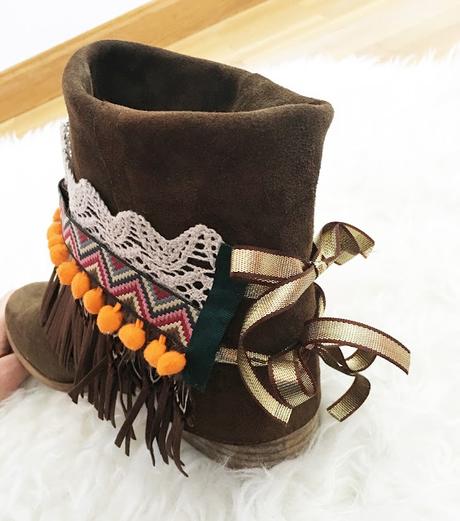
Aquí tenéis el post completo con los pasos para que hagáis vuestros propios cubre botas para esta temporada y podáis lucir un look étnico con este complemento. Os darán un aire diferente a vuestras botas o botines. Para ello, comenzaremos nombrando los materiales que necesitamos:
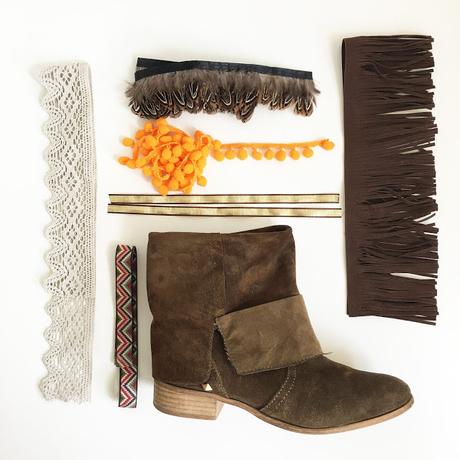
- 60 cm de cinta de plumas naturales
- 60 cm de cinta étnica
- 60 cm de cinta de puntilla
- 60 cm de madroños
- 60 cm de cinta de flecos de antelina
- 1 metro de lazo para atar los cubre botas
- Pegamento textil
- Pinzas
- 2 trozos de lazo para rematar los bordes
Here's the full post with the steps that you should do your own covering boots for this season and you can wear an ethnic look. They will give you a different to your boots or boots air. We started naming the materials we need:
- 60 cm of ribbon of natural feathers
- 60 cm lace ribbon
- 60 cm of pompoms
- 60 cm suede fringed tape
- 1 meter loop for attaching the covers boots
- Textile adhesive
- Tweezers
- 2 pieces of ribbon
Ahora nos ponemos manos a la obra y seguiremos los siguientes pasos:
1 • Cortamos todas las tiras de 60cm a la mitad porque para cada cubre bota necesitaremos 30 cm de cada una de ellas.Now we put hands to work and follow the following steps:
1 • cut all the strips of 60cm in half because for each covers boot will need 30 cm of each of them.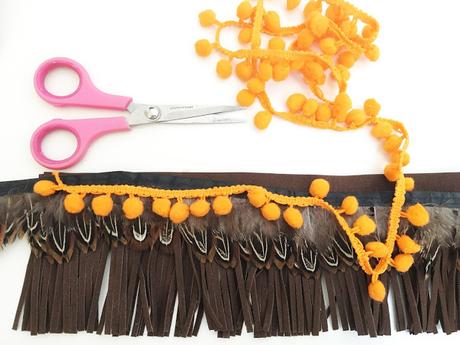
2 • Superponemos la cinta étnica, los madroños y las plumas sobre la cinta de flecos, que nos servirá de base. Con la ayuda de las pinzas haremos presión para que quede todo bien pegado y esperaremos 10 minutos.
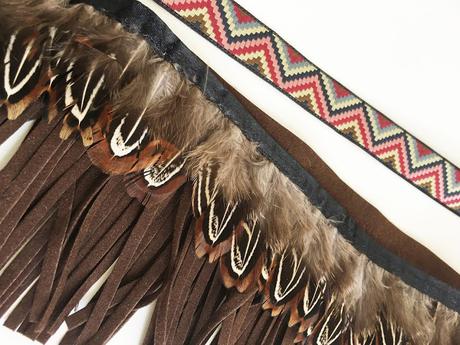
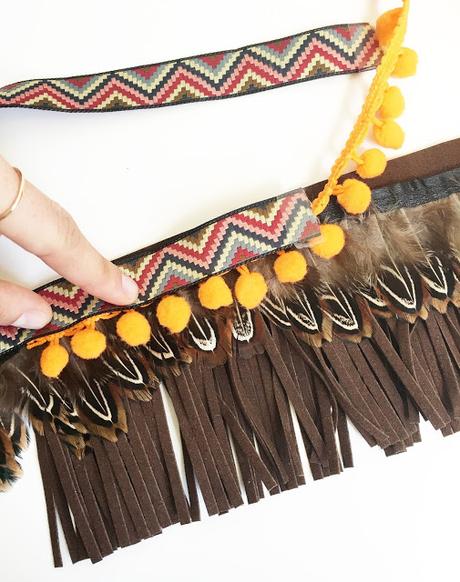
3 • Después pegamos todo el grupo anterior a la puntilla y el cubre botas estará prácticamente terminado.
3 • Stick the entire group prior to the lace and the covering boots will be practically finished.
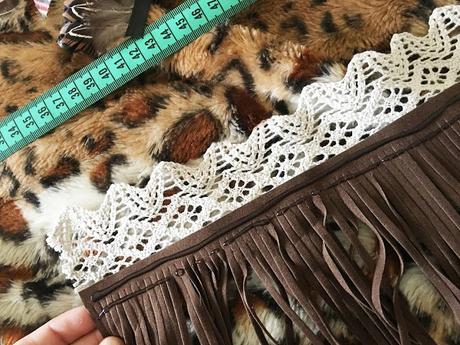
4 • Ahora rematamos los extremos con dos trozos de lazo del color que queráis y pegamos las cintas que nos servirán para atar nuestros cubre botas.
4 • Now finish off the ends with two pieces of loop of the color you want and paste Ribbons that will serve us to tie our covering boots.
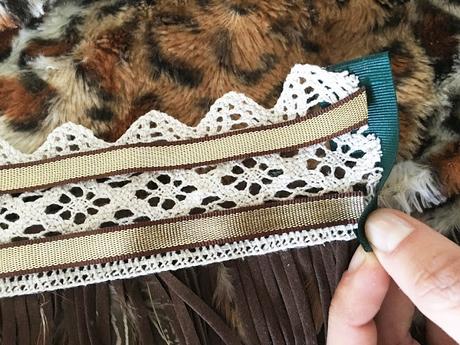
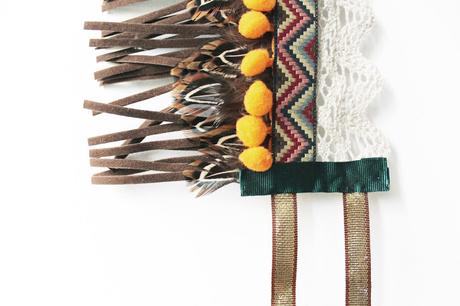
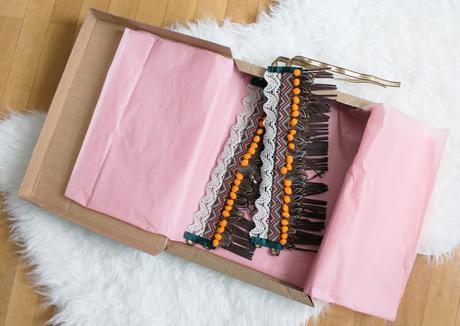
Y este es el resultado final!!! Un DIY super fácil de hacer y lo mejor, que tendrás unos a tu propio gusto.And this is the final result!!! A DIY super easy to make and the best, you'll have one to your own taste.
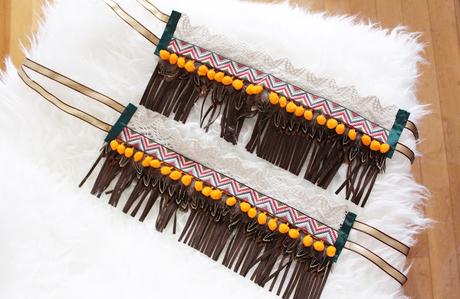
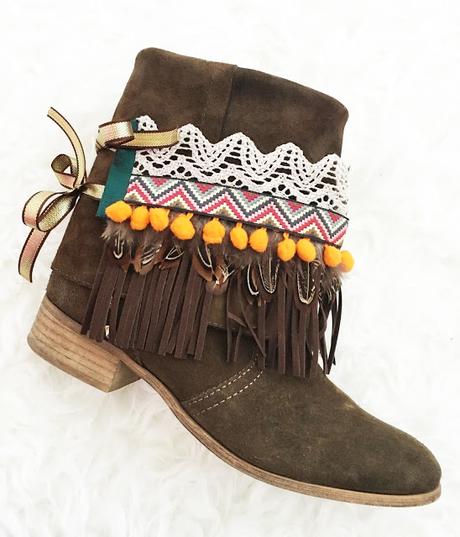
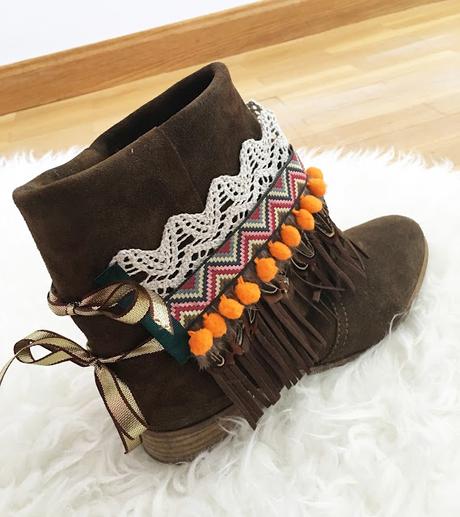
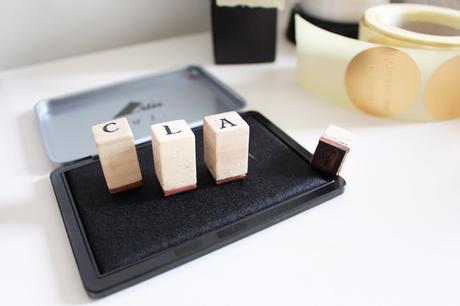
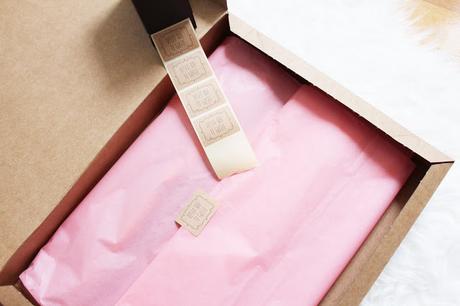
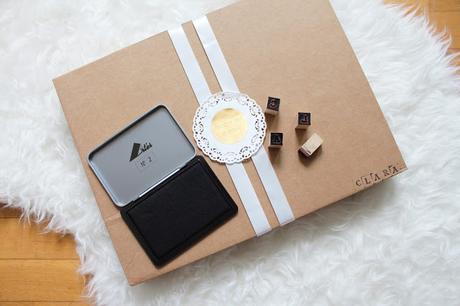
Una vez terminados llega el momento de preparar el envío ya estos son un regalo especial para una amiga. Como me encantan los detalles y envolver regalos, os enseño una idea muy sencilla para personalizar el paquete.We must now prepare shipment because these are a special gift for a friend. I love the details and wrap gifts, I teach a very simple idea to customize the package.
