Muchas veces nos encontramos con ese pantalón que nos encanta y que solo queda UNO solo en el perchero de la tienda, pero que lastimosamente no es de nuestra talla sino de una talla mas grande; ese fue mi caso ya hace un tiempo cuando decidí comprarme este precioso pantalón rosado estilo baggy de Zara, me quedaba un poco grande pero aun así eso no me detuvo. En ese momento pensé que dado que estaba aprendiendo a usar la maquina de coser lo arreglaría facilmente pero no fue sino hasta el viernes que lo saque del closet y puse manos a la obra...
Today I bring youa DIYthat I amsure itwill servein some moment, this is averyeasy way to adjustthe waistbandof the pantswithout having to goto a seamstress
Manytimes we findpantsthatwe loveand thatthere is onlyone inthe rackinthe store,butunfortunatelyit is not oursizebut alargersize, that was my casesome time agowhen I decided tobuythisbeautifulpinkpantsbaggystyleofZara,the pantswerea little largebut stillthatdid not stop me. At that momentI thoughtthat sinceI was learningto use thesewing machineeasilyfixitbut it was notuntil Fridayto get it outof the closetand putto work...
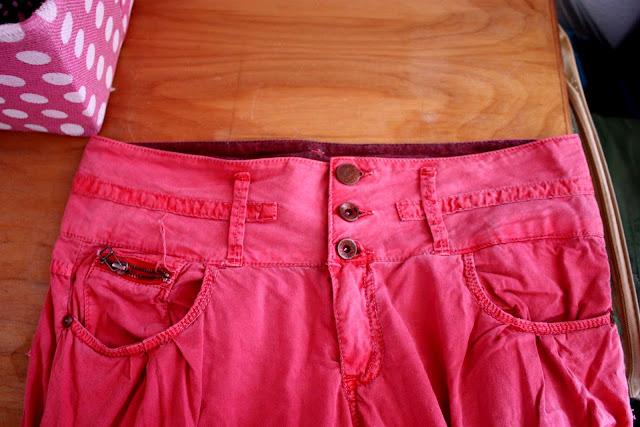
1. Lo primero que se debe hacer es medirse el pantalón y determinar cuantos centímetros queremos disminuirle. De igual manera se puede utilizar una cinta métrica para saber exactamente tu medida y de allí restárselos directamente.(Por ejemplo: Mi medida a la altura donde va el pantalón es de 79cm, la mitad de 79 son 38,5cm. Allí es donde marqué con el alfiler) Para este caso se quiere reducir 4cmts de pretina. 1 The first thing you should do is measure the pants and determine how many centimeters we want to reduce In the same way you can use a tape measure to find exactly your size and subtract directly from there (For example: My measure is to the height where the pants 79cm, half of 79 is 38.5 cm That's where I marked with the pin) For this case we want to reduce 4cmts waistband
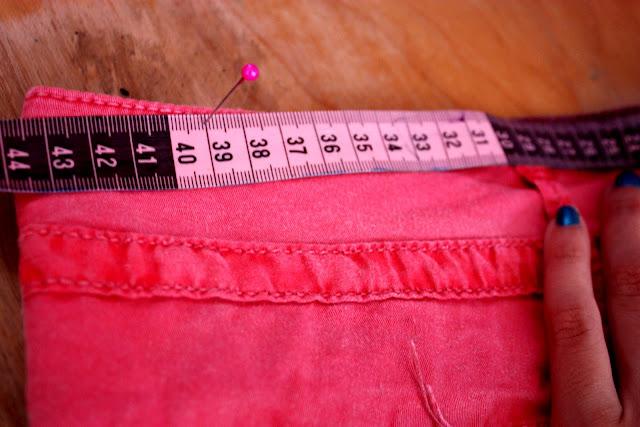 2. Esos 4cmts los vamos a distribuir haciendo dos pequeñas pinzas de 2 cmts cada una a cada lado de la pretina del pantalón o en la parte de atras. (Donde te quede mas ajustado )
2 Those are going to distribute 4cmts by two small clips of 2 cm each on either side of the waistband of the pants or the back side (Where is more adjusted)
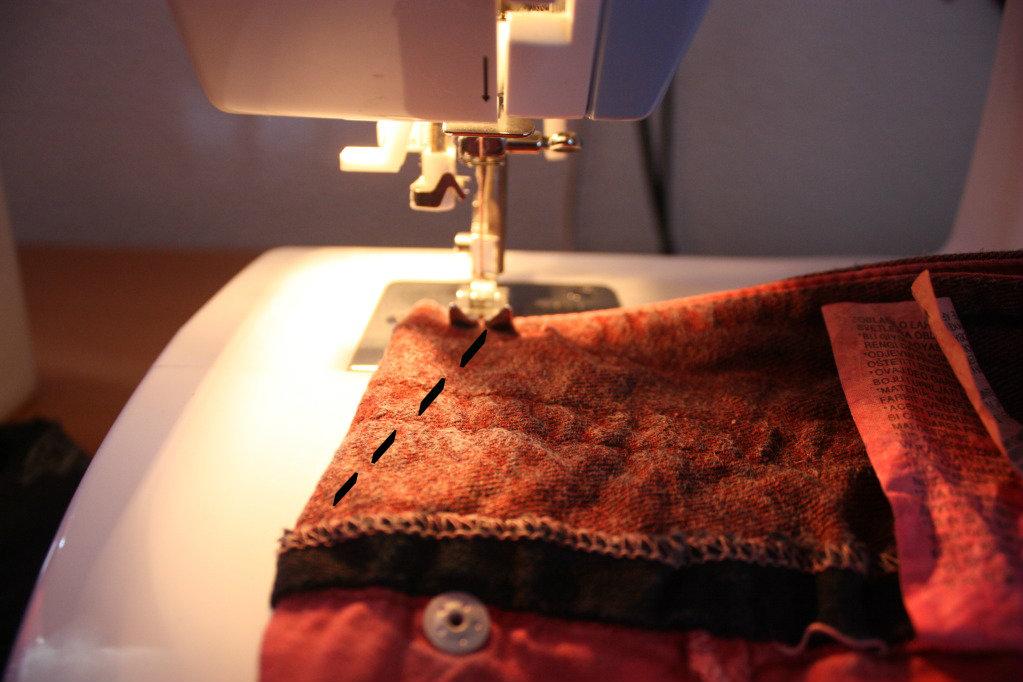
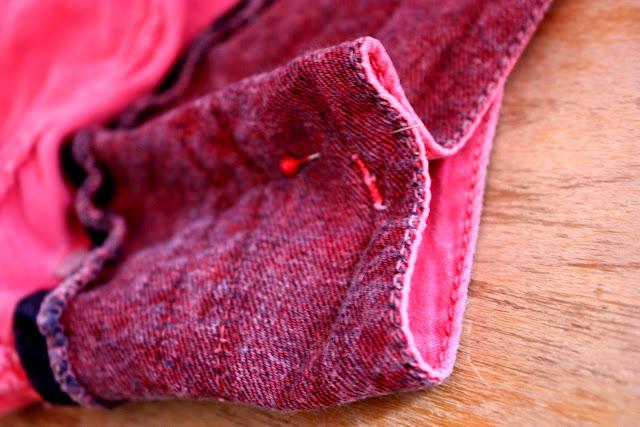 3. Una vez elegido y marcado el lugar donde se harán las pinzas, se procede a coser de manera diagonal, empezando con los 2 cmts y terminando en O cmts. De esta manera el arreglo se ajustara ala forma de el cuerpo.
No recomiendo que cosan a mano ya que el acabado debe quedar lo mas uniforme posible para que no se note.
3 Once chosen and marked the place where the clips will be necessary to sew in a diagonal manner, starting with the 2 cm and ending at Ocmts In this way the arrangement adjusted to the shape of the body.
I do not recommend you sew by hand, the finish should be as uniform as possible to avoid being noticed.
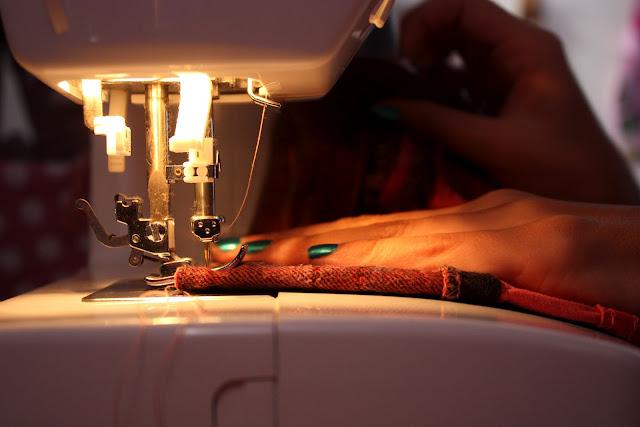
4. Una vez terminada la operacion y luego de verificar que el pantalón les queda justo como querian, el arreglo debe notarse lo menos posible. 4 Once finished the operation and then verify that the pants is just like you wanted, the arrangement should not be noted
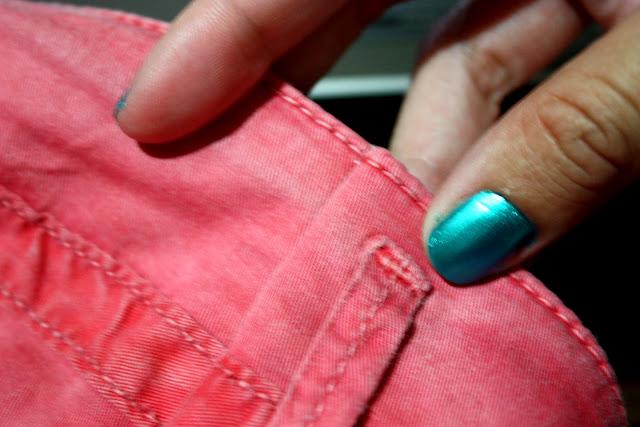
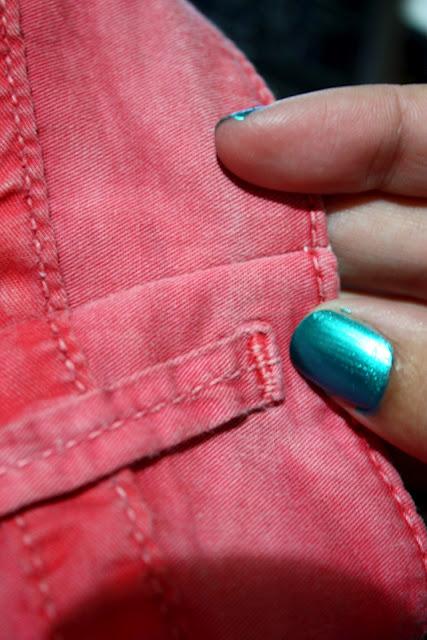 Espero que les haya gustado y si se quedaron con ganas de reconstruir o arreglar otra prenda AQUI pueden ver como convertir una franela talla L en una S.
I hope you liked it and if you were left wanting to reconstruct or repair another garment HERE you can see how to convert a T-shirt size L in a S.
¡Besitos fashionistas! OXOX blogbyloupost

