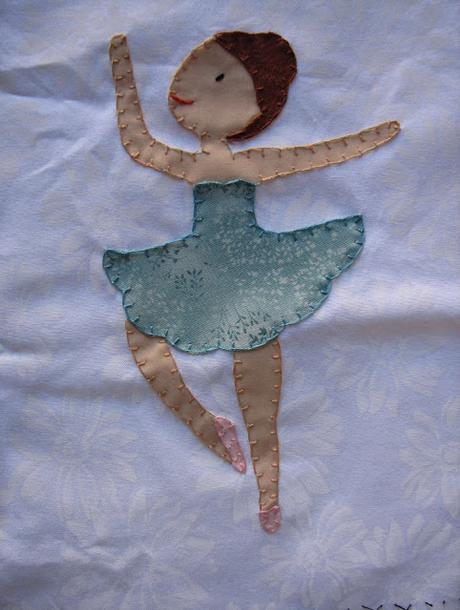
Hay básicamente dos formas de coser las aplicaciones: se pueden aplicar las piezas a punto de festón o con punto escondido. En el primer caso, el festón enriquece el resultado al añadir un punto de bordado al trabajo. Con el punto escondido se da más protagonismo al patchwork y se puede dar volumen a las aplicaciones. En este post vamos a ver como se hacen las aplicaciones a punto de festón.
There are basically two ways of sewing the appliqués: the pieces can be placed in blanket or hidden stitch. On the first case, the blanket stitch enriches the result on adding a point of embroidery to the work. With the hidden stitch patchwork becomes more important and it is possible to give relief to the appliqués. In this post we will see how to make appliqués in blanket stitch.
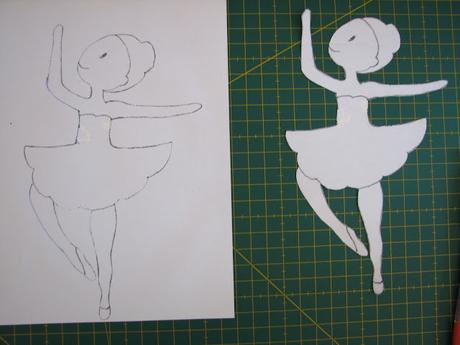
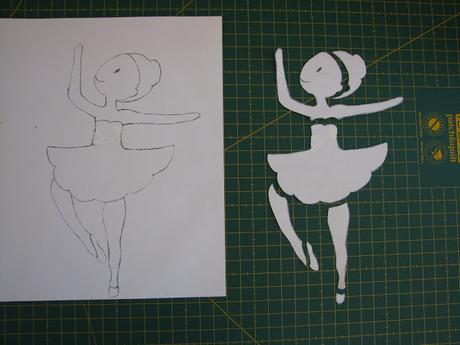
En primer lugar, realizamos el dibujo y recortamos las partes que lo componen.
First, make the drawing and cut the pieces.
A continuación se pasan las piezas a las telas, dibujando (por el derecho de la tela) el contorno y recortando con un pequeño margen. Si hay varias en una tela es mejor recortarlas juntas.
Then copy the pieces on the fabrics, drawing (on the right side of the fabric) the outline and cut with a small margin. If there are several pieces on a fabric it is better to cut them together.
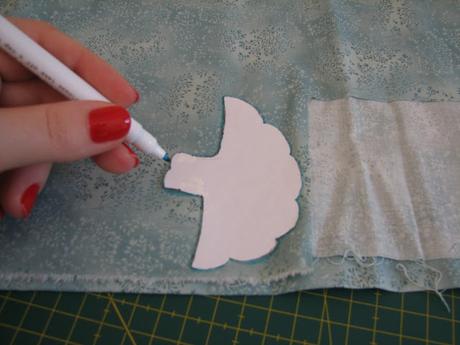
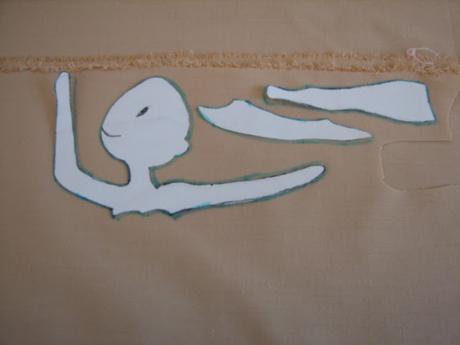
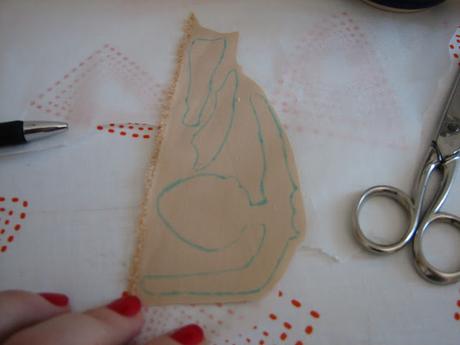
Después colocamos las piezas sobre una entretela fina especial para aplicaciones que se pega con la plancha. La tela se pone sobre la parte que lleva el pegamento (la más rugosa).
Later, place the pieces on a special thin interlining for appliqués that can be sticked just ironing. Place the fabric on the side with the glue (the rough one).
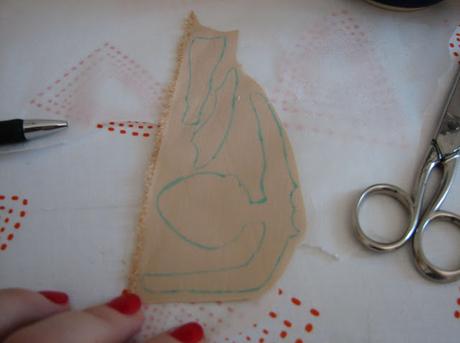
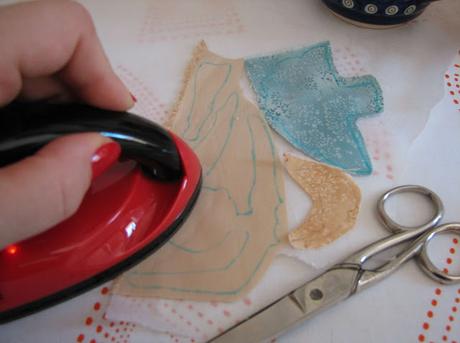
Ahora recortamos las piezas. Haciéndolo con la entretela ya pegada evitamos que se deshilachen. Al cortar debemos pensar en como vamos a superponerlas. Si una pieza va debajo de otra dejaremos margen en el lado que quede debajo. De esa forma quedan perfectamente ensambladas.
Now cut the pieces. Doing it after sticking the interlining we prevent them to fray. On cutting them we must think on how we are going to superimpose them. If a piece goes under another one we will leave margin on the side below. This way they will be perfectly assembled.
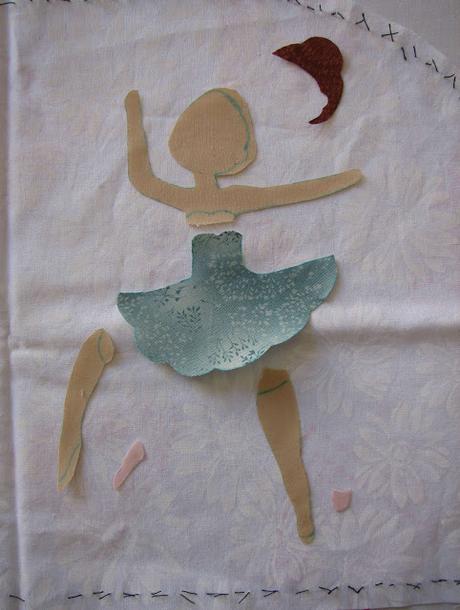
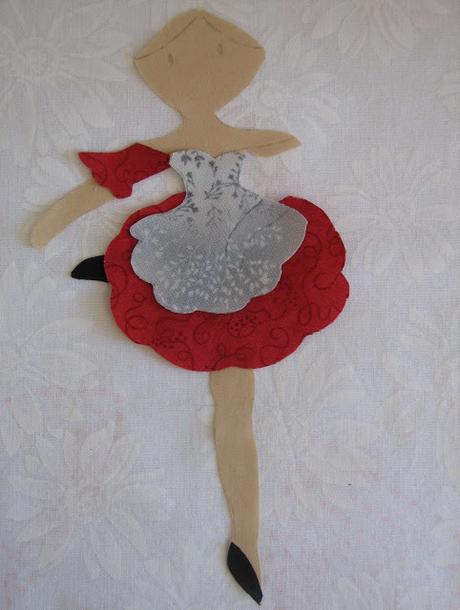
Cuando tengamos claro como las vamos a superponer podemos empezar a pegarlas a la tela en el orden correspondiente (las que van bajo otras primero). Retiramos el papel de la entretela y se pegan con la plancha.
When you are sure about how to superpose them you can start sticking them on the fabric according to the right order (first those which are placed underneath). Put the interlining paper away and stick them using the iron.
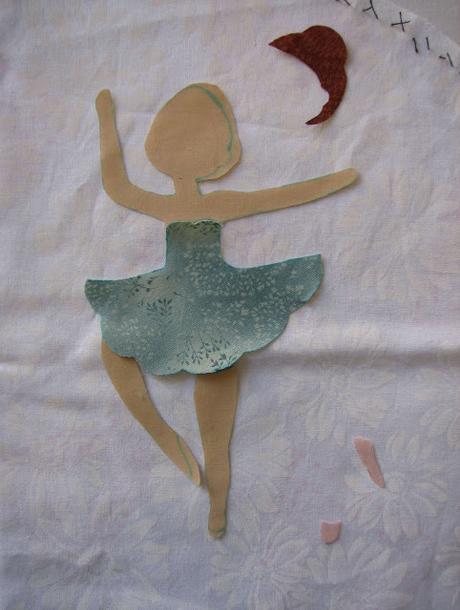
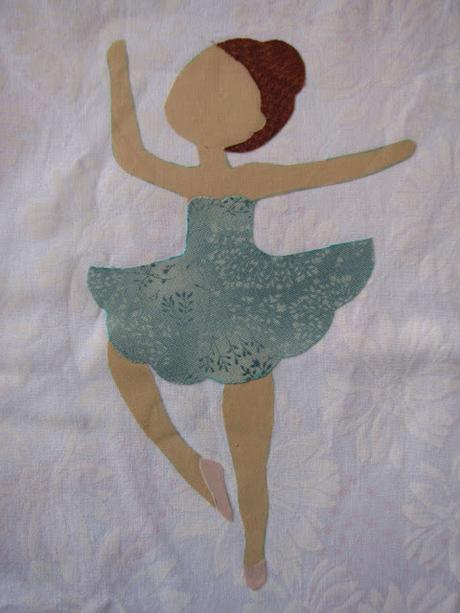
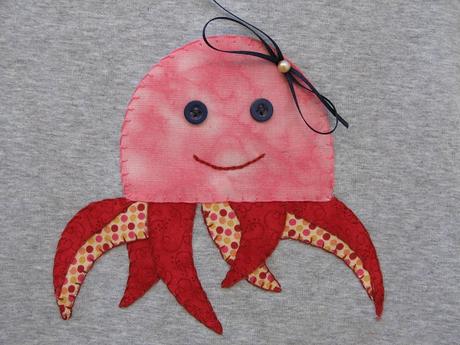
Otro ejemplo:
Another example:
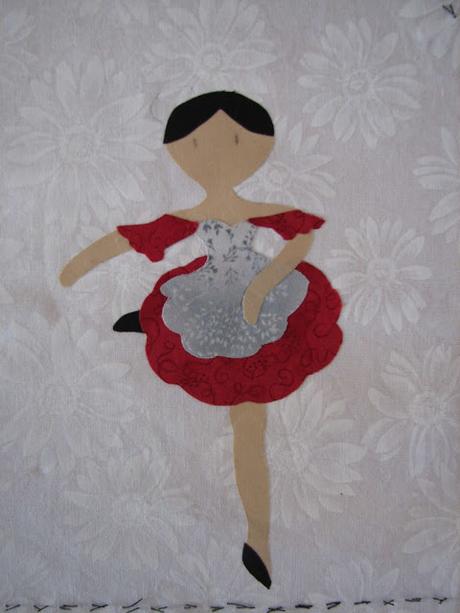
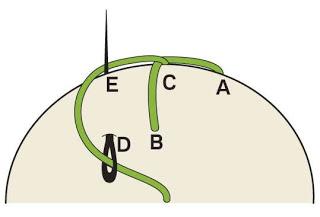
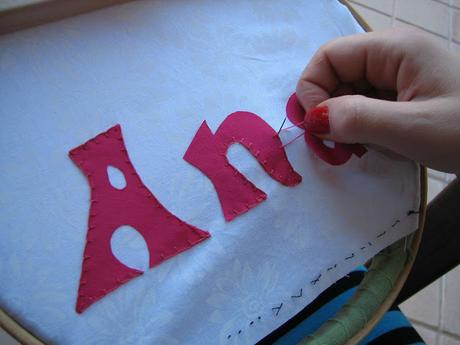
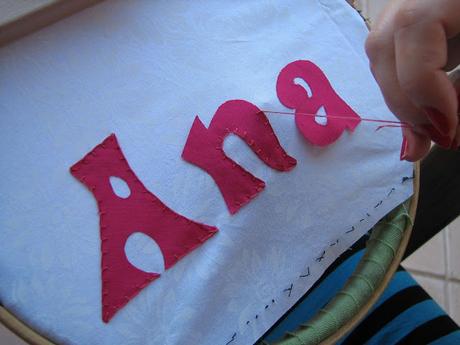
Sólo queda coser el borde a punto de festón.
Finally sew the edge in blanket stitch.
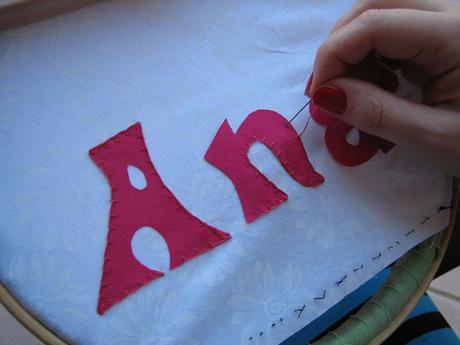
¡Y ya está!
And it’s ready!
