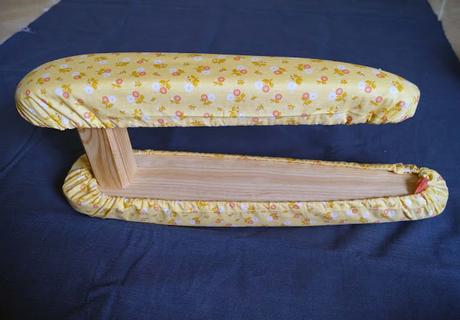
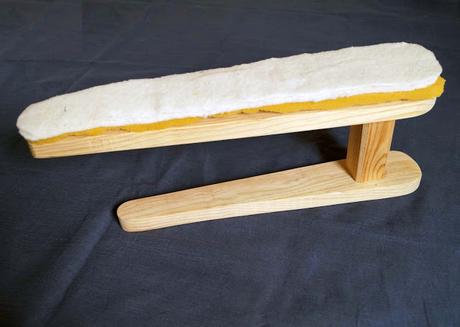
¿Utilizáis manguero para planchar? Hay quienes no saben lo que es y quienes no pueden prescindir de él. Se trata de una tabla de planchar pequeña y estrecha que se coloca sobre la mesa o la tabla grande y se usa para planchar mangas y perneras. Tradicionalmente son de madera y tienen dos lados, uno más pequeño que el otro. Yo tenía uno que debí perder en una mudanza y ahora lo estoy echando en falta, así que he comprado otro. Y como los venden sin forrar, me he puesto manos a la obra.
Do you use an ironing sleeve board? There are some people who do not know what it is and others who cannot do without it. It a small and narrow ironing board that, placed on the table or the usual ironing board, is used to iron sleeves and legs. They are traditionally made of wood and have two sides, one smaller than the other. I had one I should have lost on a move. Now I’m missing it, so I have bought a new one. And as they are sold with no cover, I have set to work.
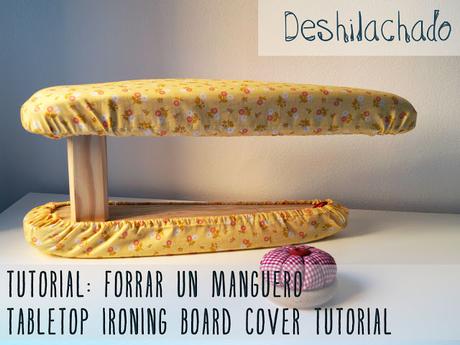
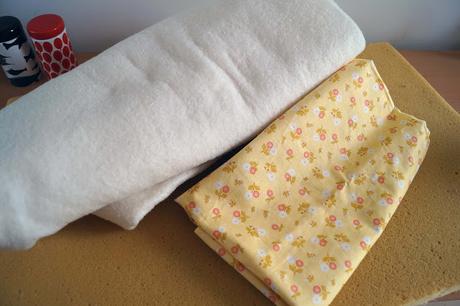
Necesitamos goma espuma, guata, tela y cinta o cordón.
We need foam rubber, wadding, fabric and ribbon or cord.
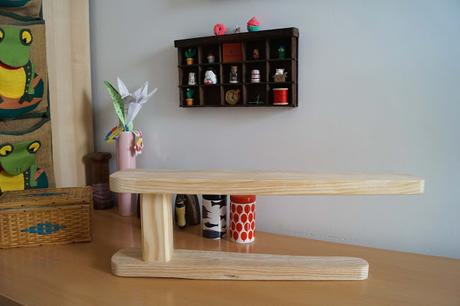
1- Utilizando el manguero como plantilla, dibujad la silueta de las dos tablas en la goma espuma y la guata y recortad las piezas sin márgenes. Como mi guata no es muy gruesa, he sacado dos piezas para cada tabla.
1- Using the board as template, draw the outline of both tables on the foam rubber and on the wadding and cut the pieces away with no seam allowance. As my wadding is not very thick, I got two pieces for every table.
2- A continuación dibujamos las siluetas de ambos lados del manguero en la tela y recortamos dejando margen de costura suficiente para abarcar los laterales -añadiendo el grosor de la goma espuma y la guata- y poder hacer un dobladillo por el que pasar la cinta con la que ajustaremos la funda a las tablas.
2- Then draw the outlines of both sides of the board on the fabric and cut leaving a seam allowance wide enoguh to include the sides - adding the thickness of the foam rubber and the wadding - and to enable to make a hem where to pull the ribbon through. We will use it to fit the cover to the board.
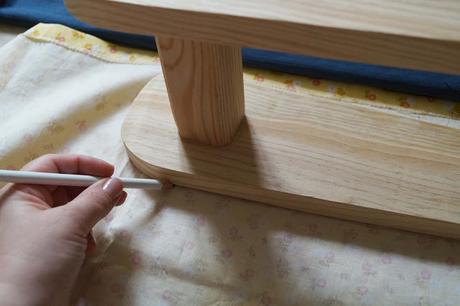
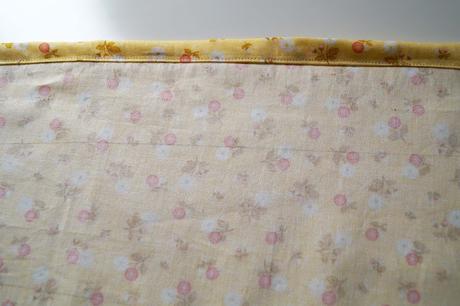
3- Cosemos el dobladillo dejando un hueco para pasar la cinta o el cordón, que es el próximo paso.
3- Sew the hem leaving a gap to pull the ribbon or the cord through, which is the next step.
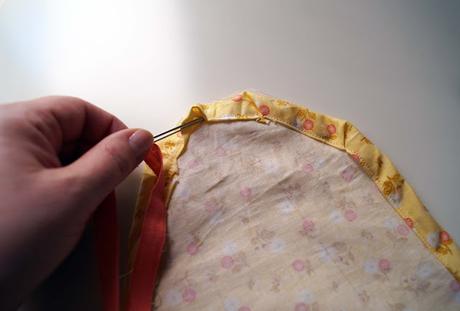
4- Colocamos sobre cada lado del manguero la goma espuma, la guata y la tela y ajustamos ésta con la cinta.
4- Place the foam rubber, the wadding and the fabric on every side of the board and fit with the ribbon.
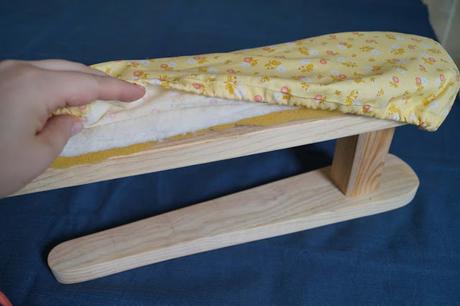
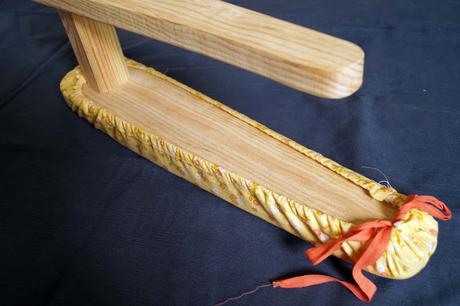
¡Listo!
Ready!
